



Vice Restoration
vice Restoration: Step-by-Step Guide
01 Disassembling the vice
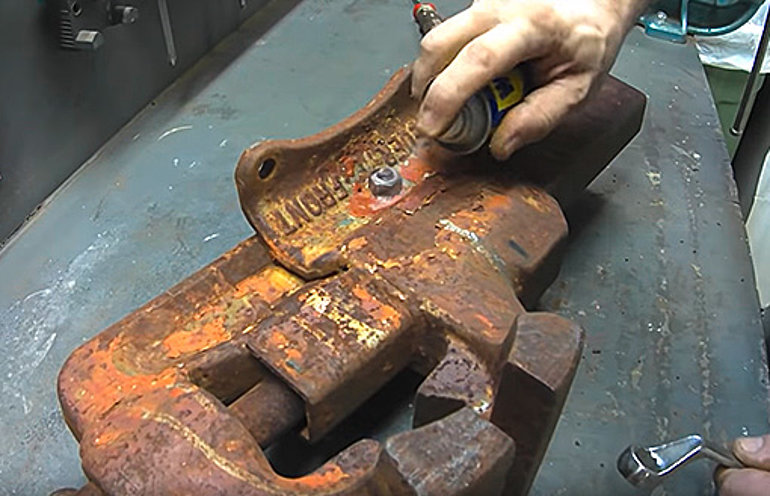
To restore your vice properly, first dismantle it into its individual components. Depending on how badly it has rusted, some parts may be difficult to separate.
Our tip: Apply a penetrating oil (such as WD-40) and leave it to soak in for several hours. This makes disassembly easier.
Take care not to lose any small parts (such as steel balls or grub screws, depending on the model). We’ll be happy to supply the components around the spindle – the compression ring, compression spring, circlip and pressure disc – free of charge. Simply send us a message stating your vice’s jaw width or spindle diameter.
02 Cleaning the Parts
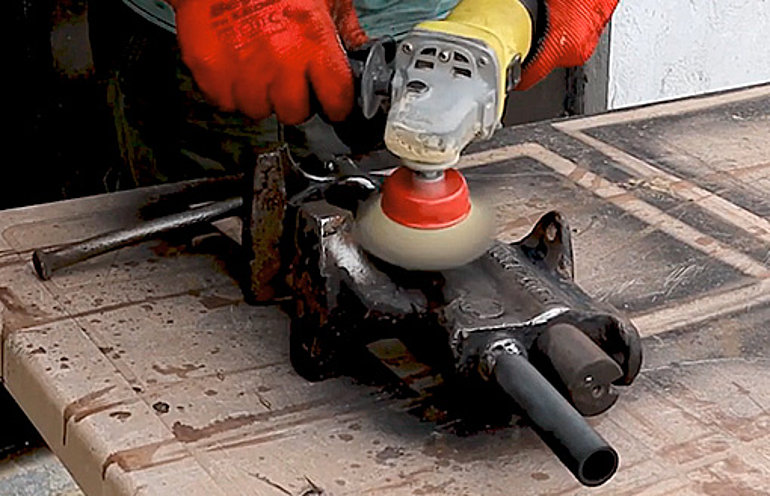
For basic cleaning, use a wire brush and a cloth. Wire-brush attachments for a drill or angle grinder also work well for removing old paint and rust.
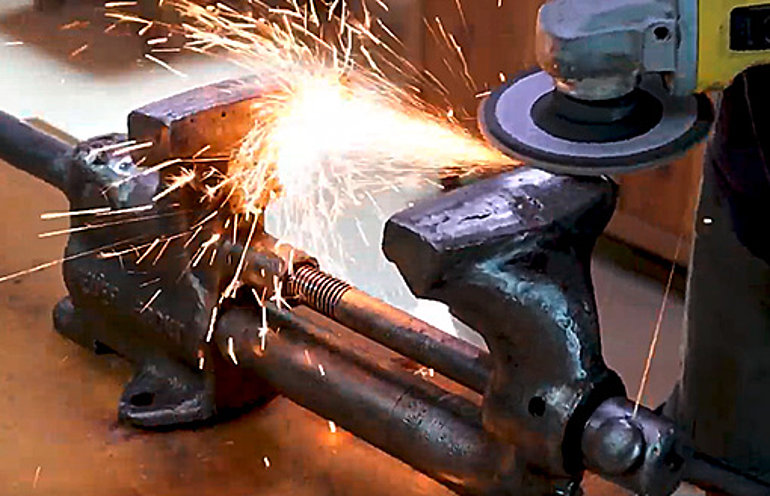
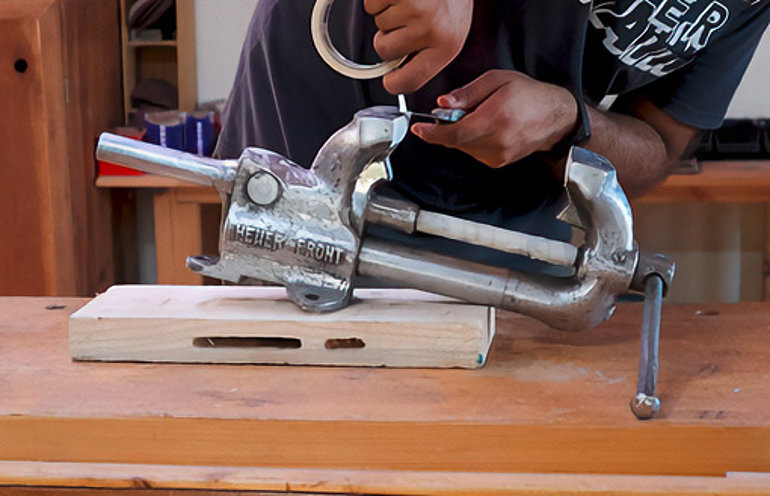
For an even better finish, you can sandblast or strip the individual parts, although this takes considerably more effort and is not strictly necessary. Important: Do not sandblast the vice’s guide surfaces on the guide rail and guide tabs, or the guide tube on older models. Mask off these areas beforehand, along with the spindle.
04 Repairing Major Surface Imperfections on the vice
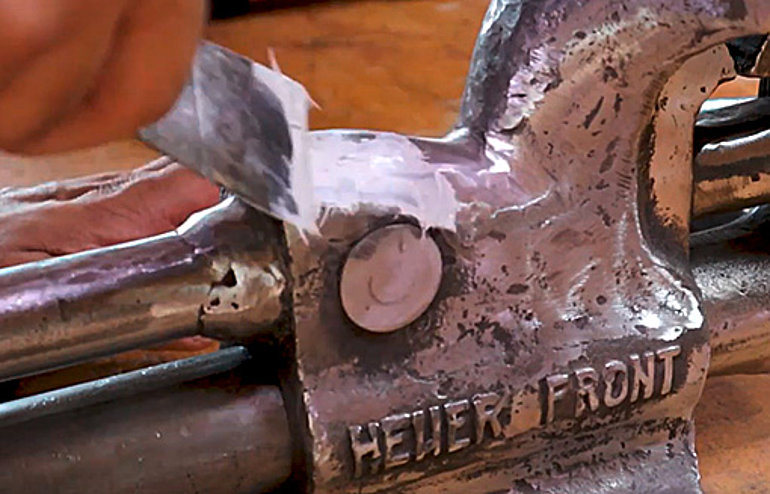
If you want to repair any remaining imperfections after sanding or sandblasting, we recommend using body filler. It is easy to apply where needed and provides a good base for painting the vice later. Once dry, smooth the repaired areas with sandpaper.
The spindle head can be polished by hand using 3000-grit, then 5000-grit and finally 7000-grit sandpaper.
06 Painting the vice
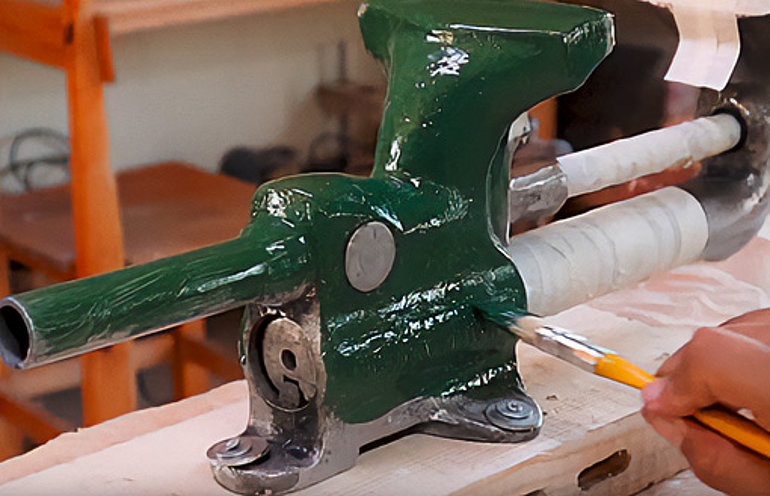
Now it’s time to paint. In principle, you can use any paint suitable for metal. We recommend Hammerite hammered-finish paint. Some users apply an anti-corrosion primer first; that’s entirely up to you.
Our tip: Apply two coats with a brush. This brings out the hammered finish better than using a paint roller.
Incidentally, the original colour of HEUER vices from the early years (starting in 1927) cannot be determined from surviving brochures, as colour printing was not used at the time. However, an original HEUER Primus / DRP vice made it possible to identify the colour: a fairly light grey with a slight bluish tint, similar to RAL 7001 Silver Grey.
07 Final Cleaning of the vice
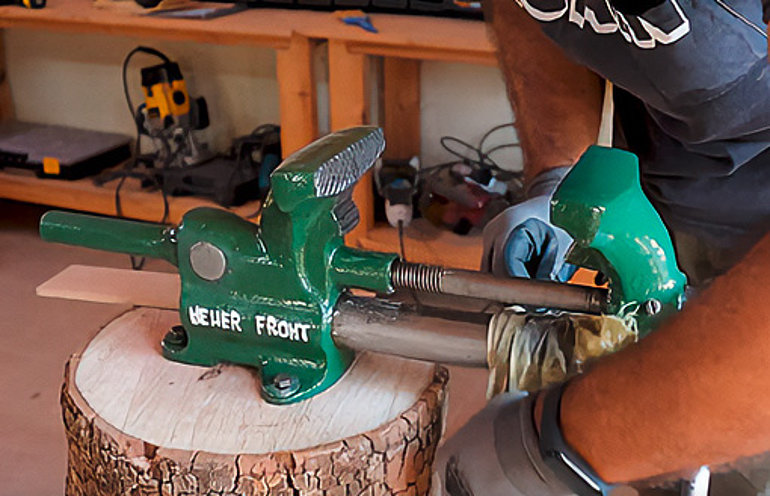
Once the paint has dried and you have removed the masking tape, you can clean any remaining areas of the vice or smooth them with fine-grit sandpaper.
08 Oiling, Greasing and Applying Stickers
Before reassembling all the parts of the vice, make sure to thoroughly grease the spindle thread and oil the guide surfaces of the sliding rail.
We will be happy to provide you with new stickers for your restored HEUER vice. Simply send us a message stating the jaw width of your vice.
Your restoration is now complete! We hope you enjoy using your old vice, now as good as new!
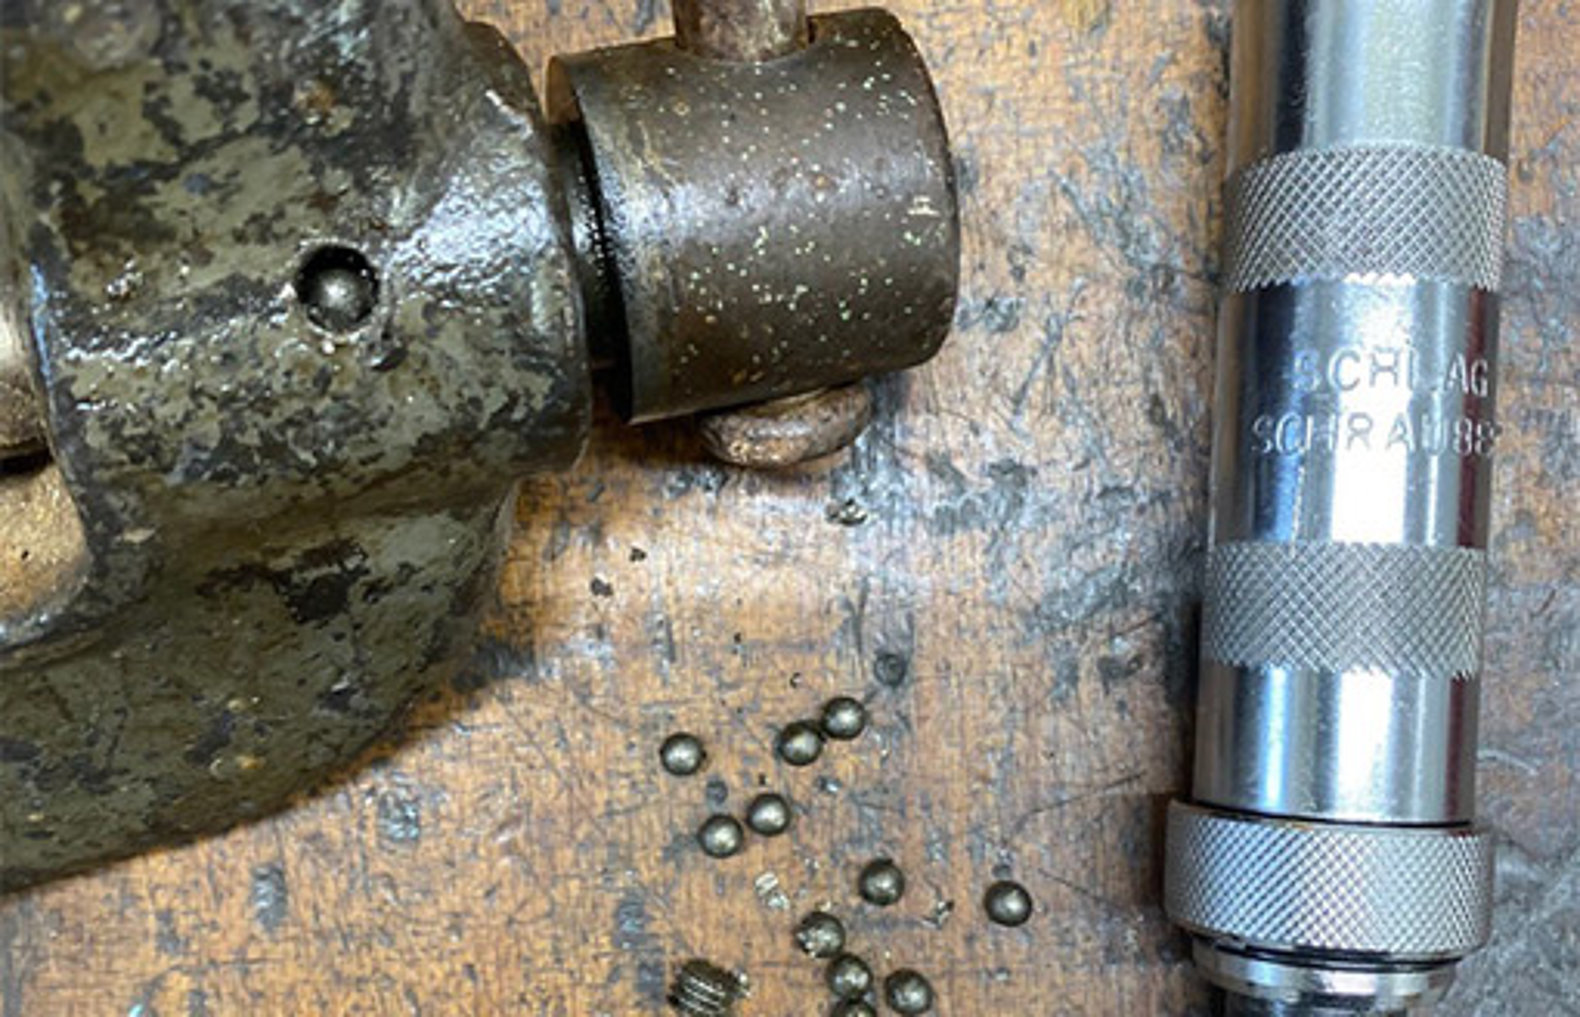
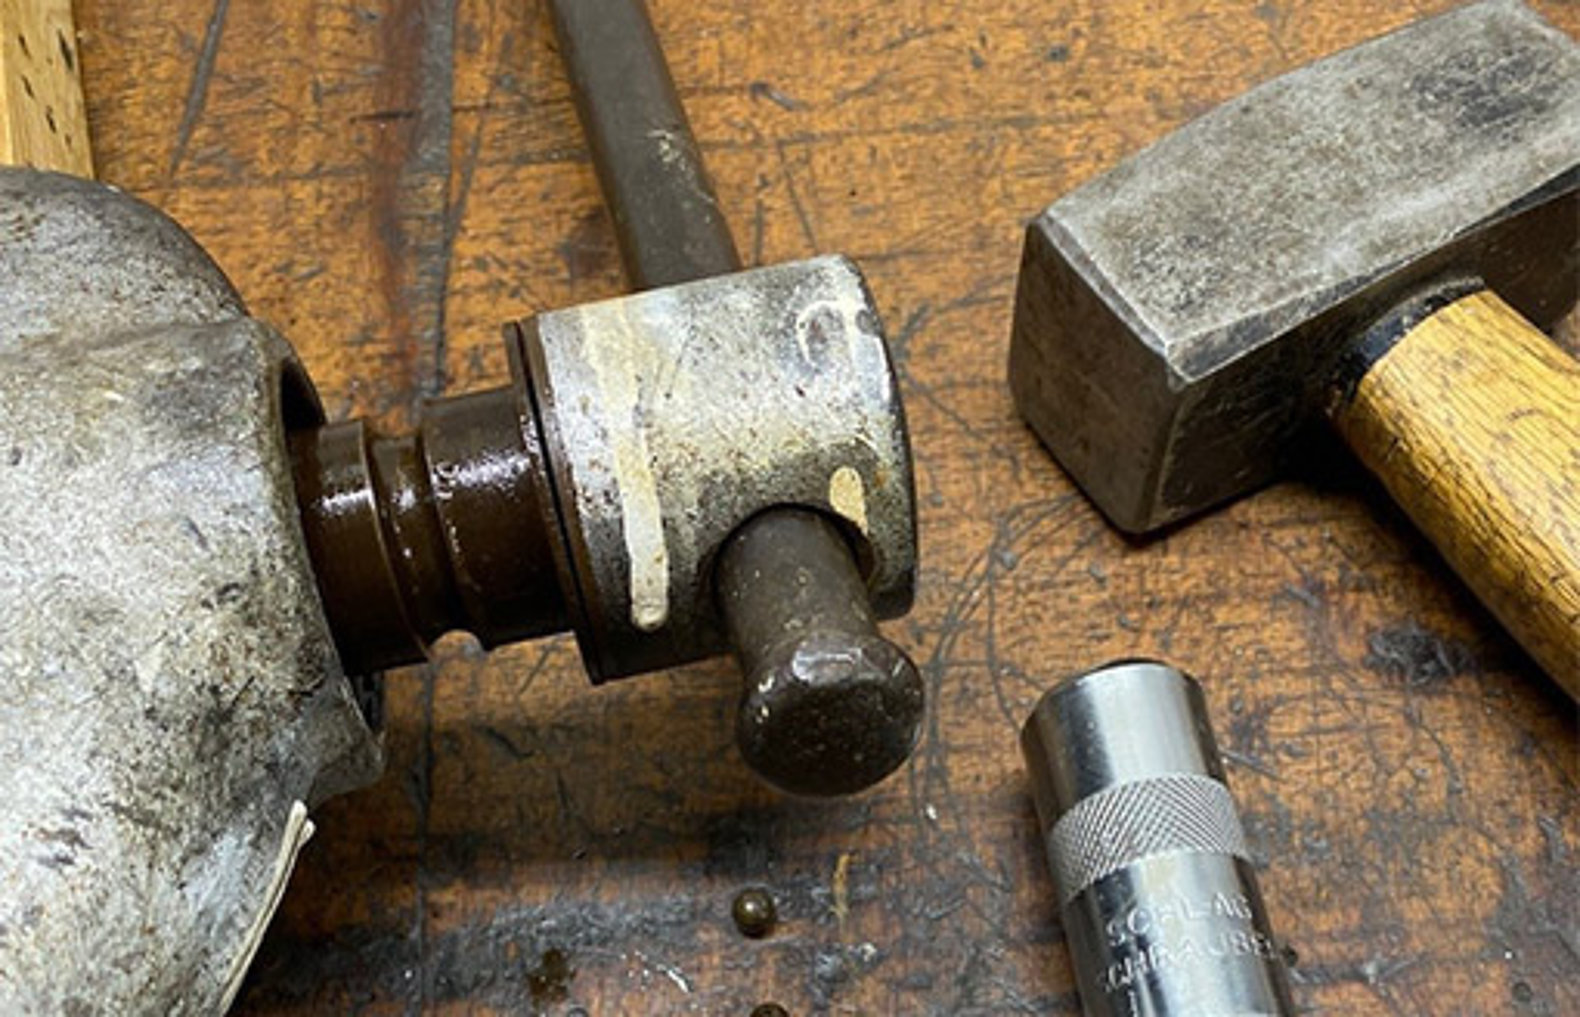
Disassembling the Ball Bearing: HEUER Primus / DRP vice
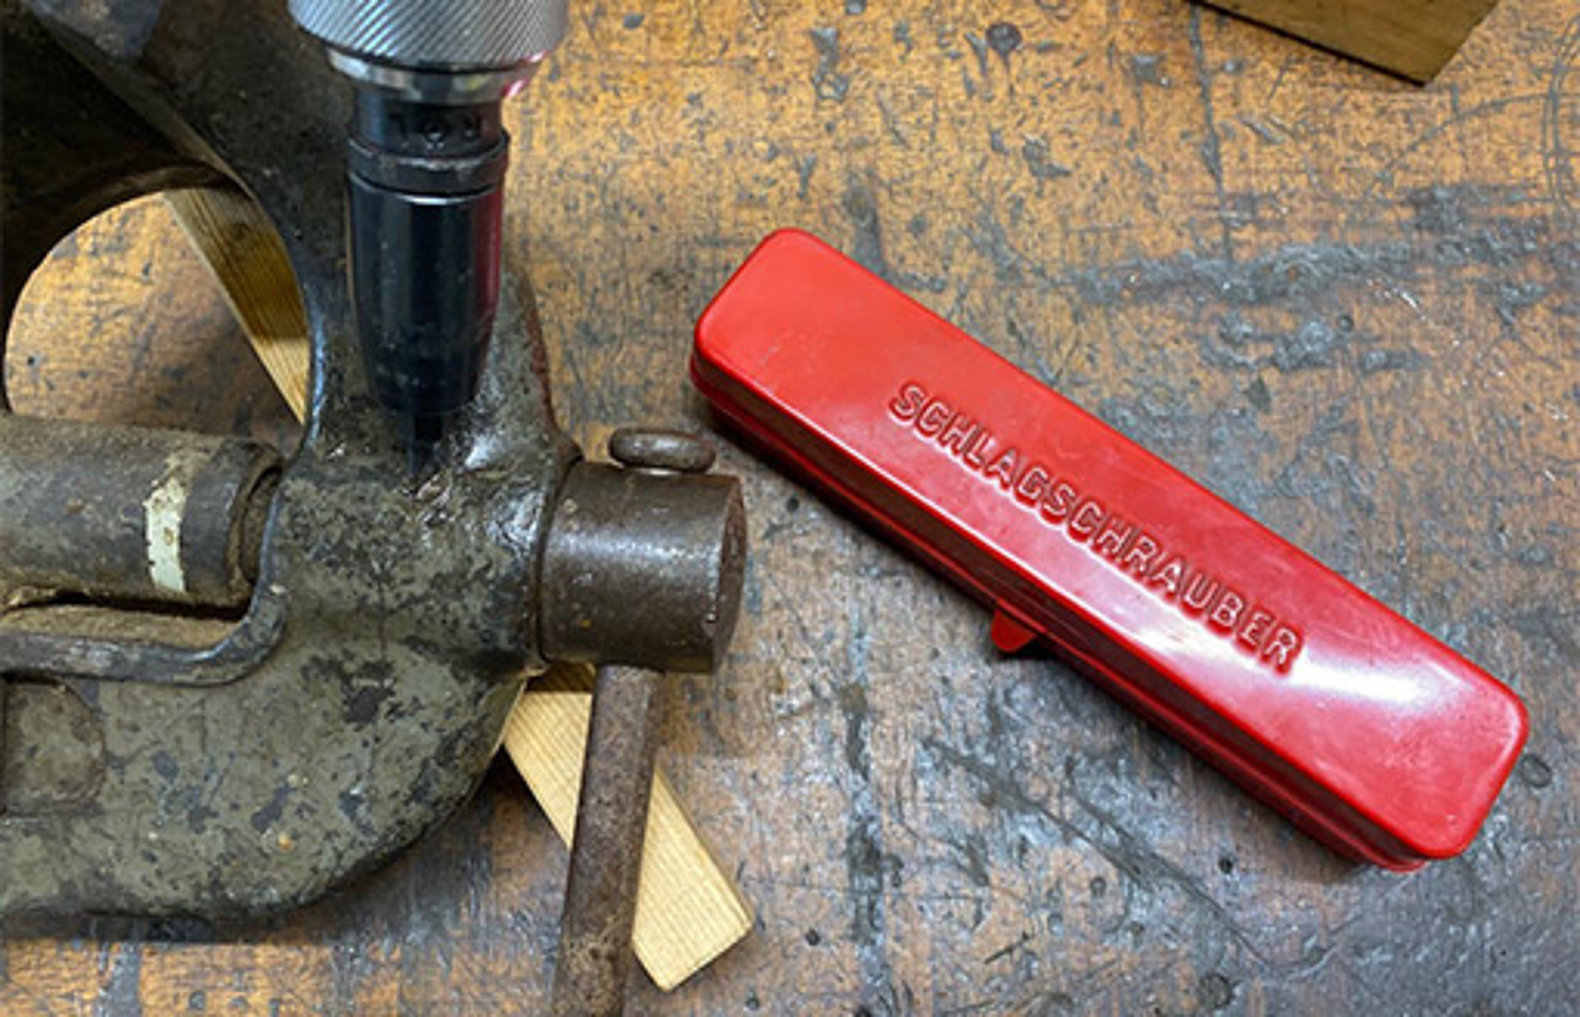
The first HEUER DRP vice series featured an elaborate, well-protected ball-bearing arrangement for the spindle. To disassemble, lubricate or restore it, you must also unscrew the grub screw so that the balls can be removed and the spindle taken out. This screw is often painted over and usually heavily seized with rust.
1. Scrape off and remove dirt, old paint and loose rust. The grub screw, its slot and any exposed threads must be completely clear.
2. Apply WD-40 or a similar penetrating oil to the screw and into the hole. Leave it to work for several days or even weeks.
3. Tip: A standard screwdriver can easily damage the slot, so it is best to use a manual impact driver. The screwdriver bit should fit the slot snugly. We recommend grinding the sides of the blade slightly narrower to avoid accidentally deforming the threads.
4. After loosening and removing the grub screw, spray in plenty of WD-40 and turn the spindle repeatedly. This will loosen hardened grease and rusted balls, allowing them to fall out when the vice is turned upside down. Alternatively, remove the balls individually using a magnetised screwdriver.
Disassembling the vice: HEUER Front (Models from 1948 Onwards)
The spindle guide and its retaining mechanism are somewhat concealed.
Procedure:
1. Remove the central adjustment screw from the vice guide.
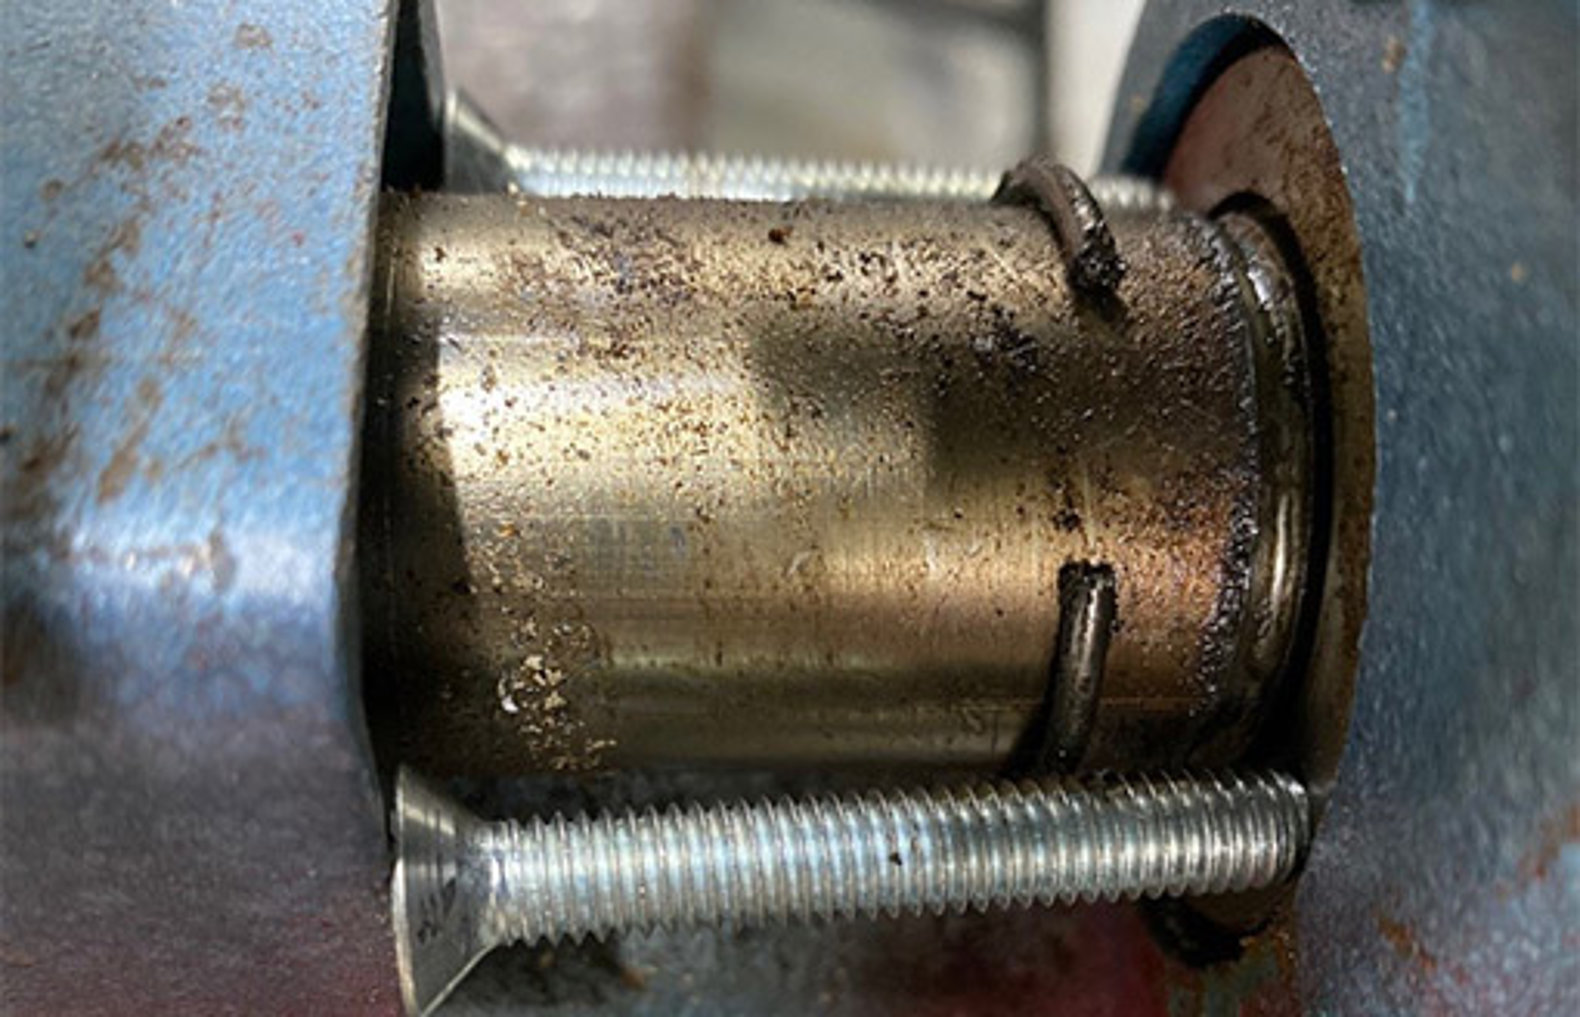
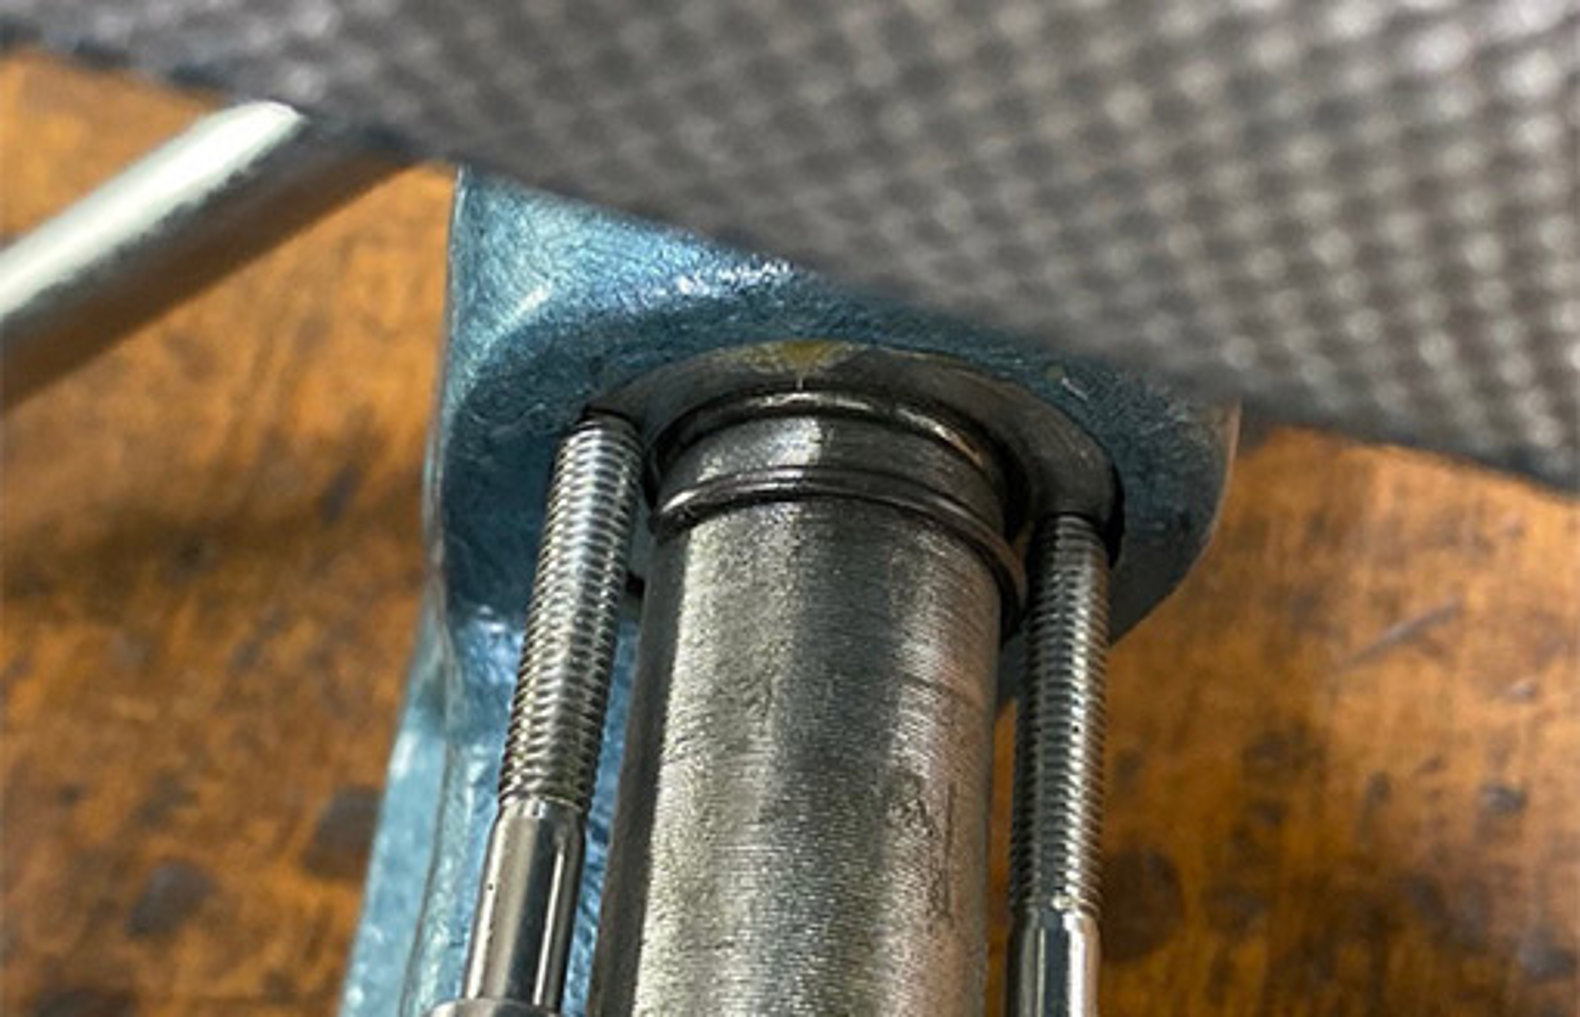
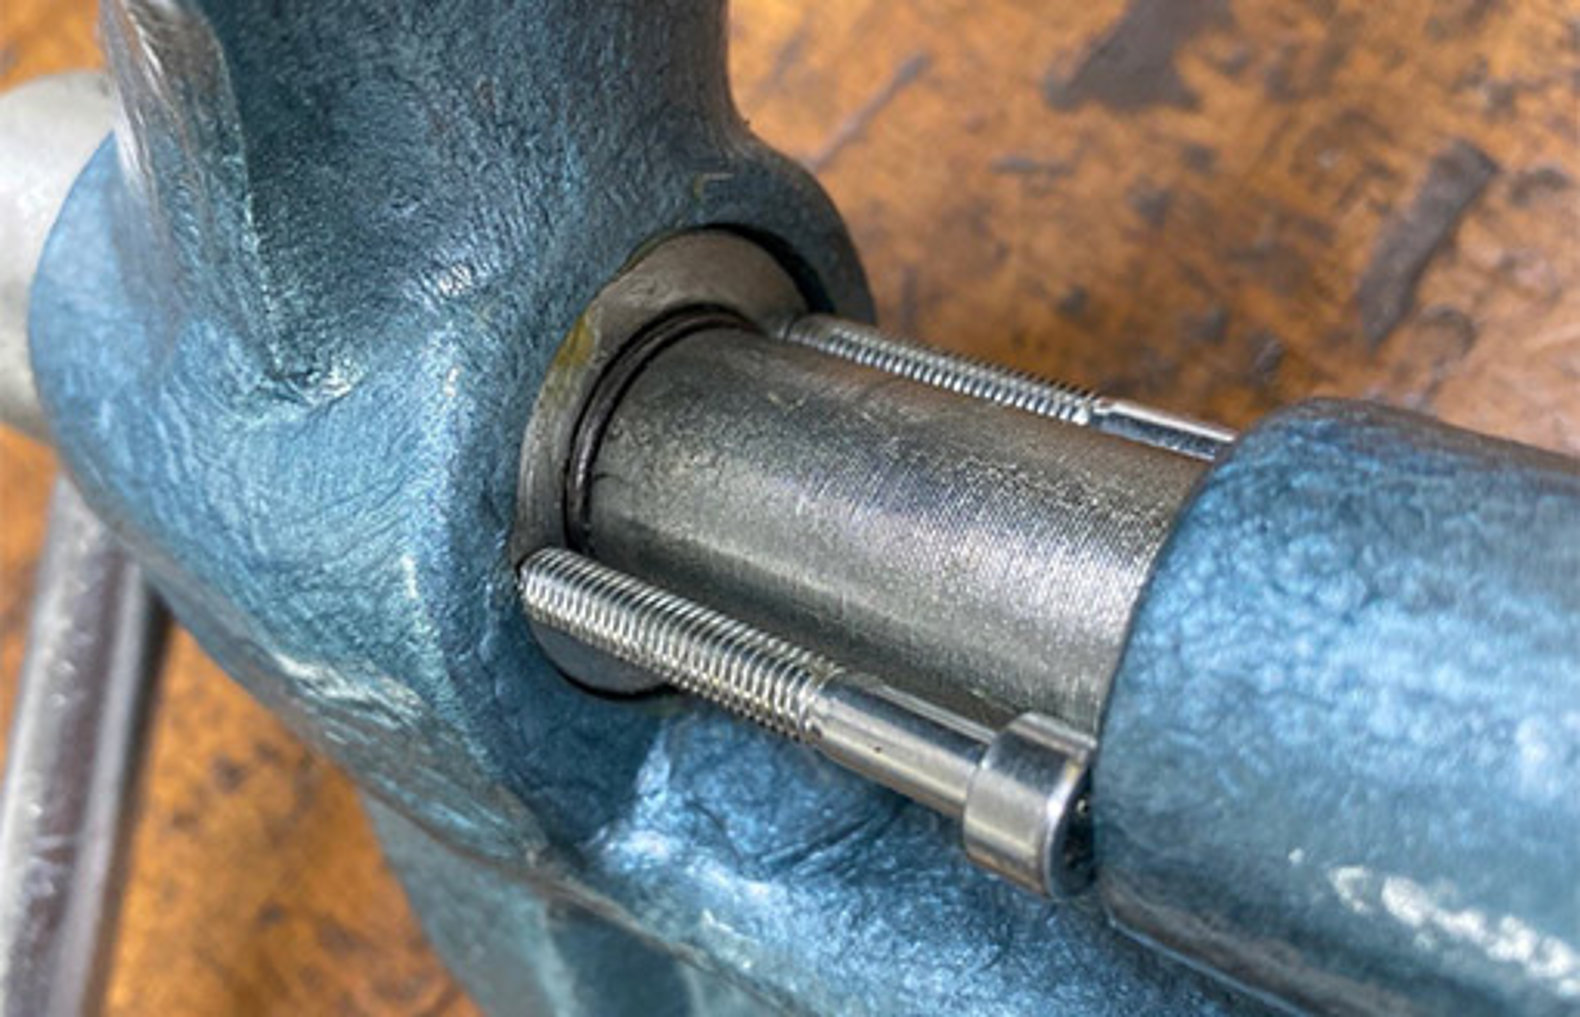
2. On the smaller 100 mm and 120 mm vices, for example, clamp two M5 × 35 mm socket-head cap screws between the short cover plate on the rear jaw and the compression ring mounted on the spindle inside the front jaw. On larger 150 mm (and 160/180 mm) models, two M6 × 40 mm countersunk screws can also be used.
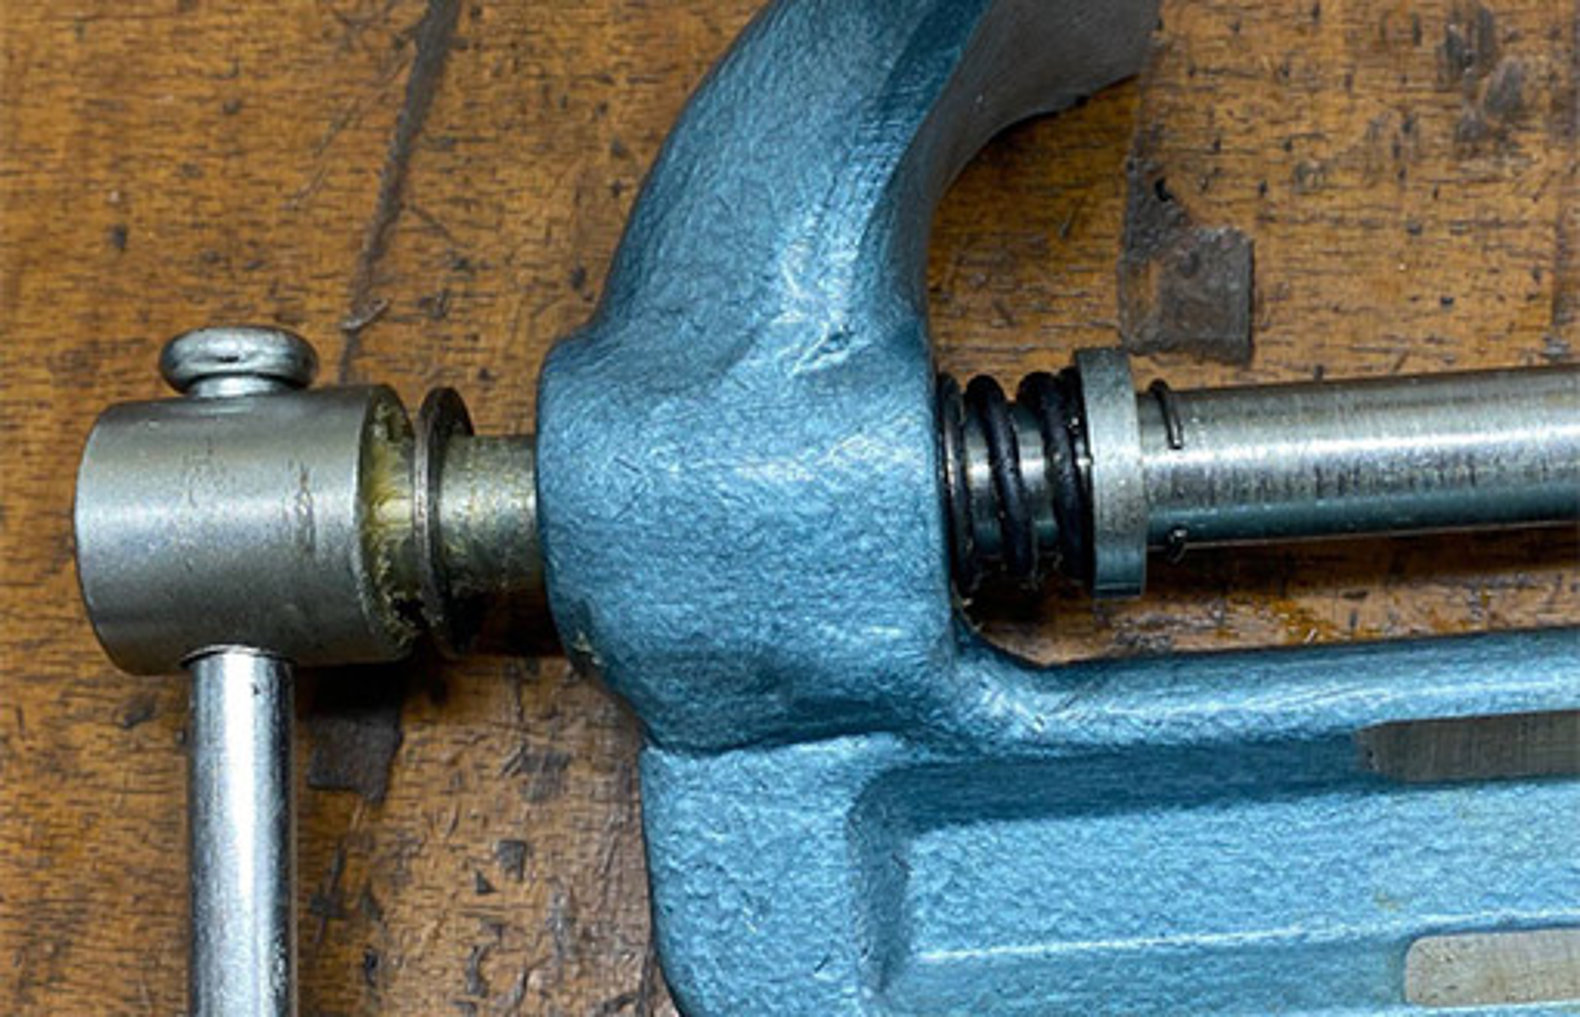
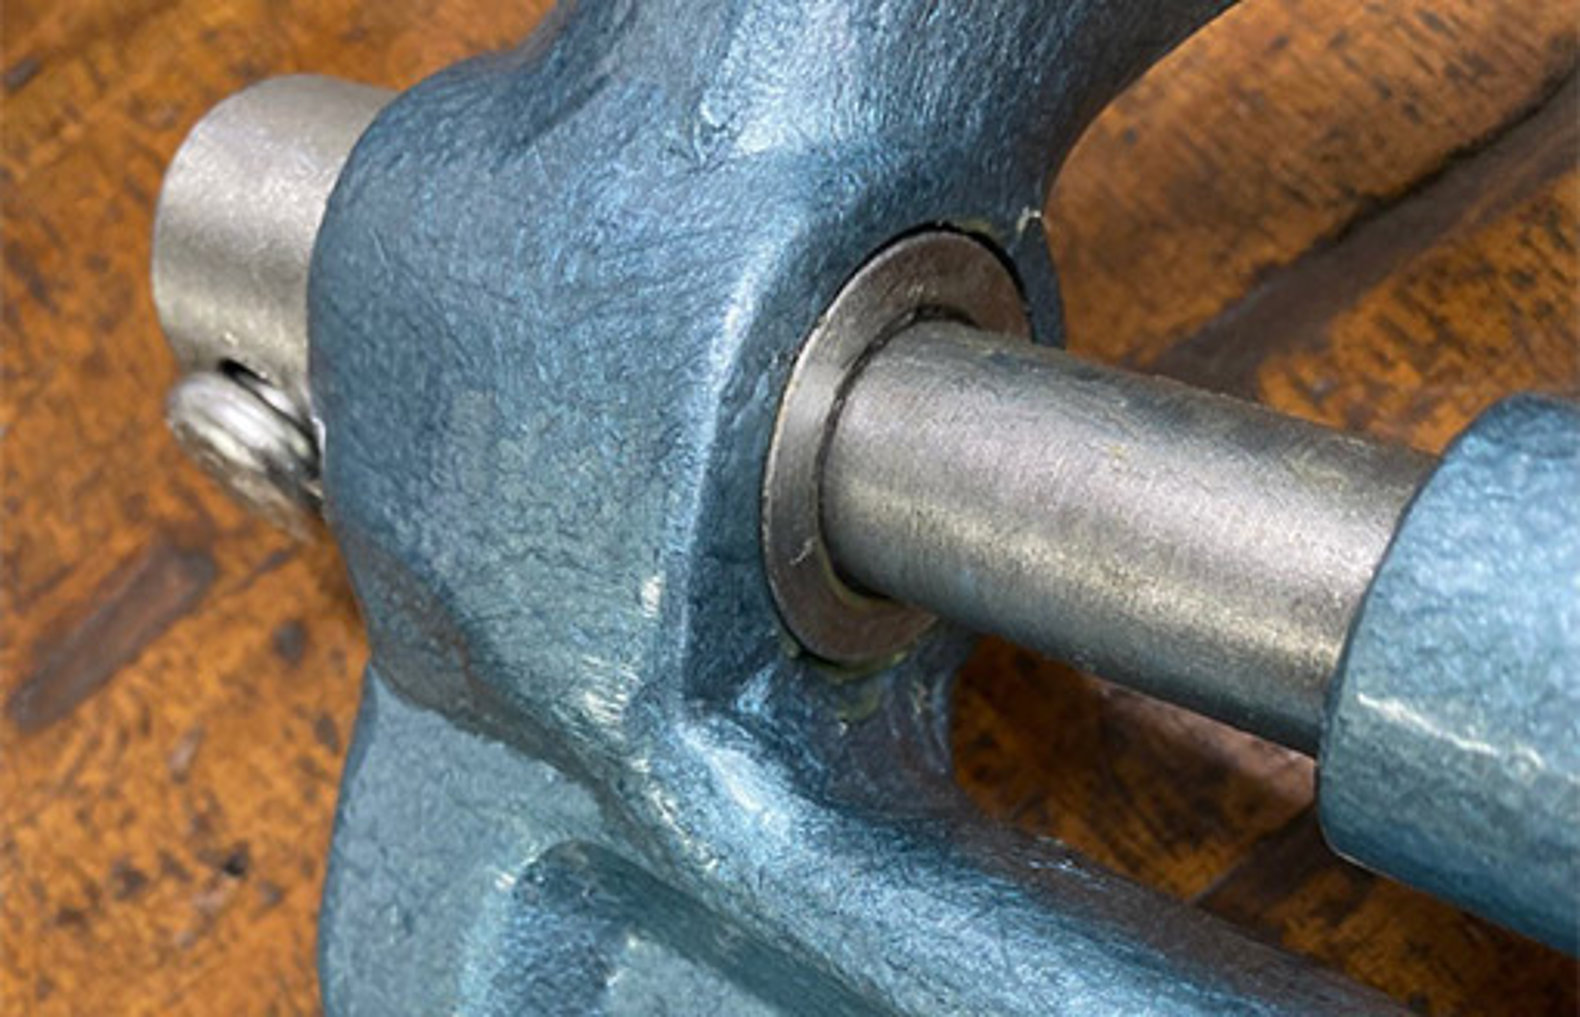
3. Closing the vice compresses the internal spring and pushes the compression ring into the front jaw, exposing the well-hidden circlip (circlip).
4. Using two small screwdrivers – one to prevent the circlip from rotating – carefully lever the circlip out of the groove in the spindle.
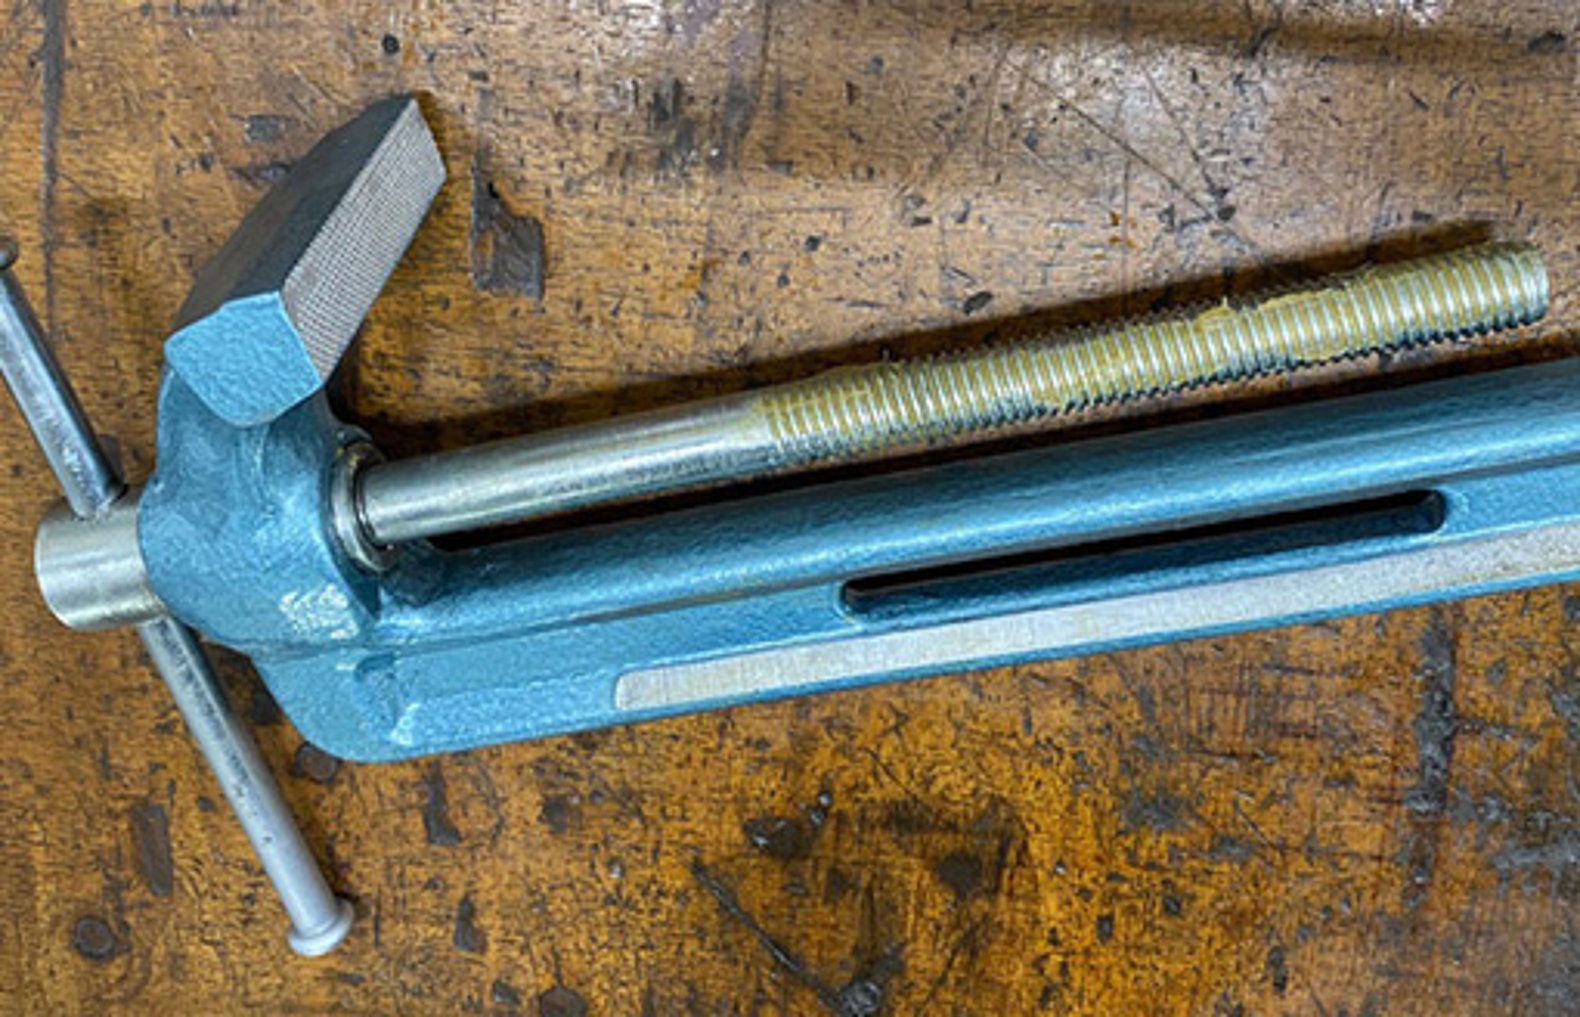
5. Continue turning the spindle and sliding the circlip towards the start of the trapezoidal thread. Once the rear-jaw slide has been removed, the circlip can be taken off easily and the complete spindle withdrawn.
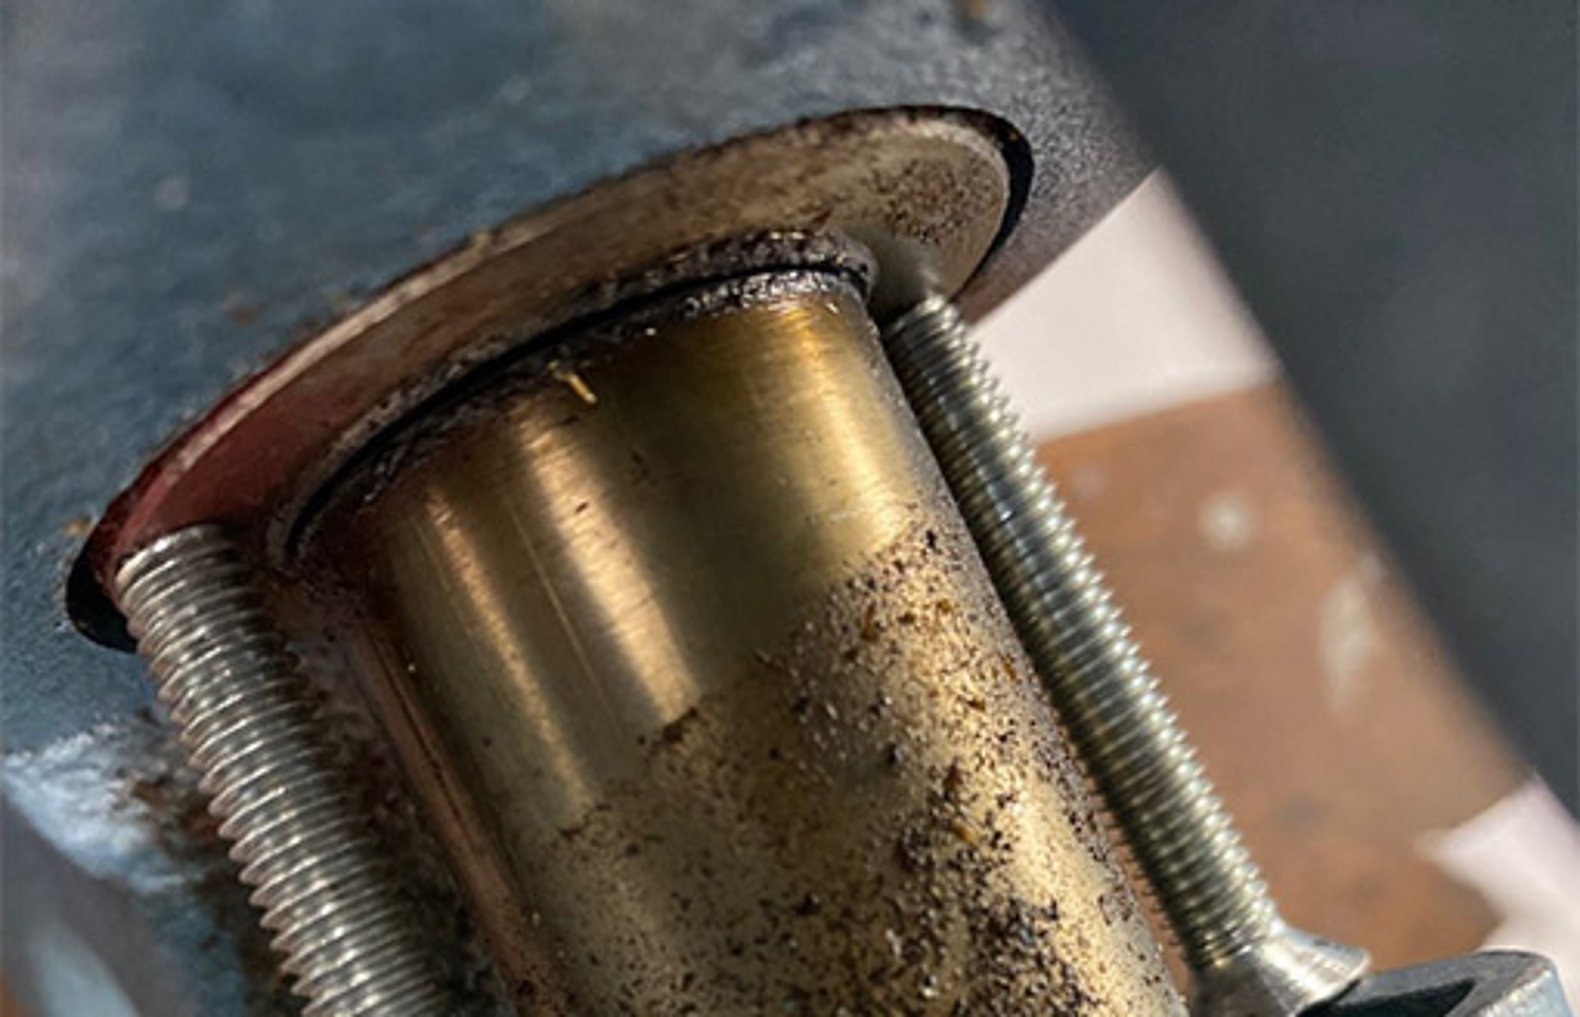
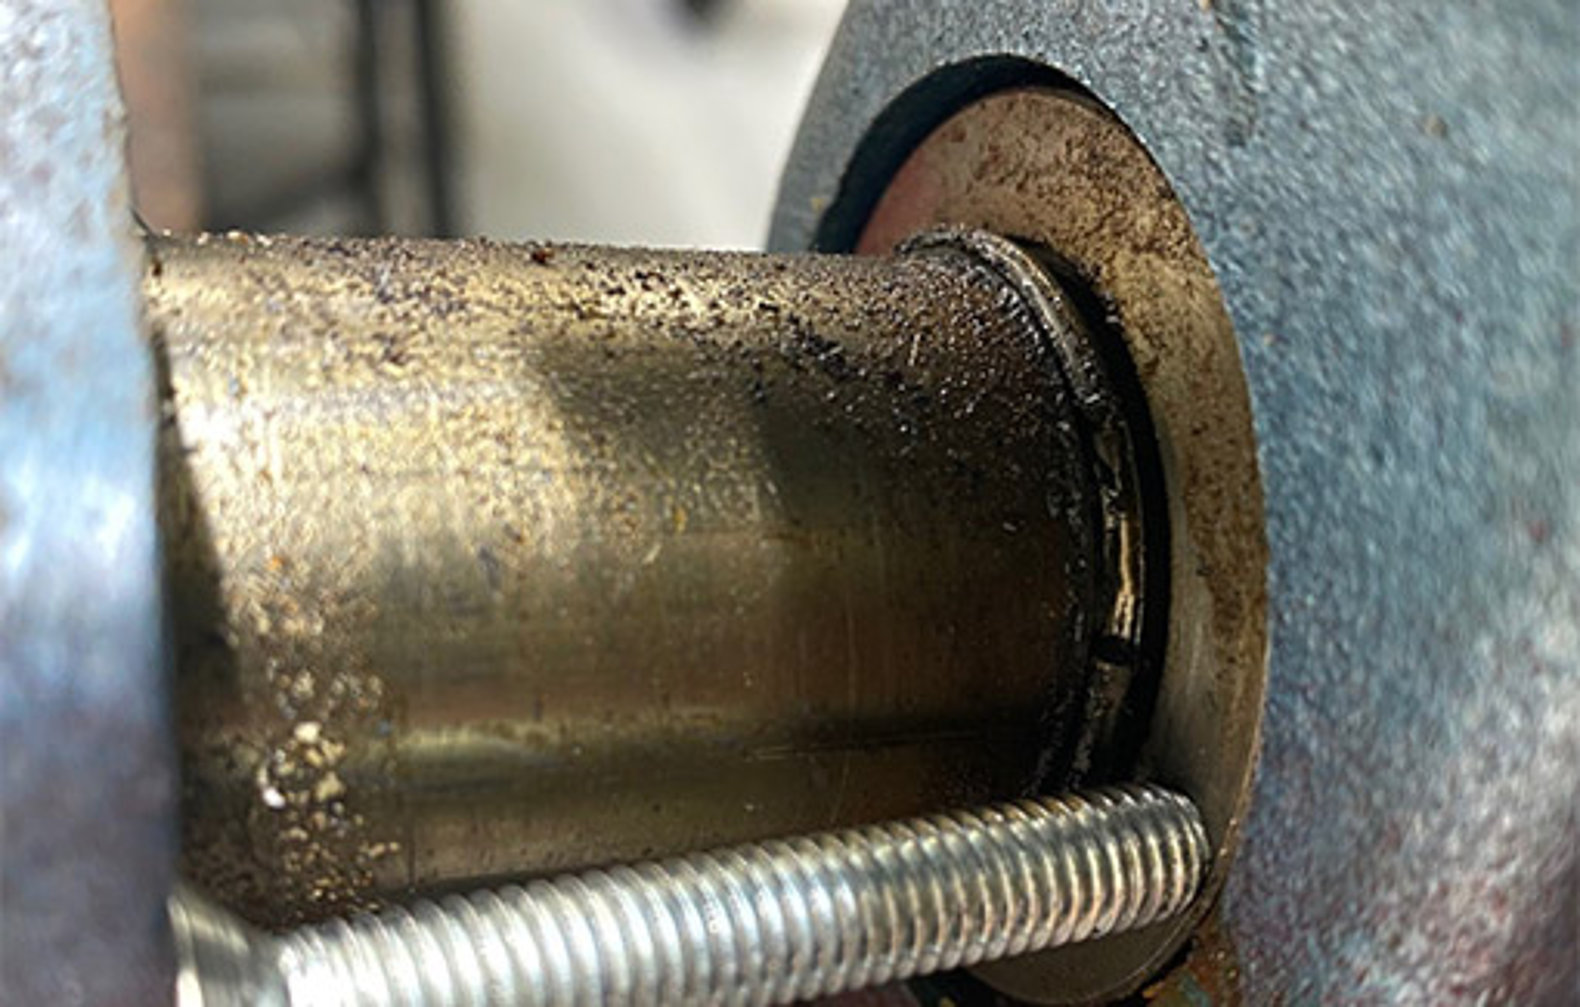
Reassembling the vice: HEUER Front (Models from 1948 Onwards)
Reassembly procedure:
- Grease the spindle and pressure disc, then insert them through the front jaw.
- From the rear, slide the compression spring, compression ring and circlip all the way forward along the spindle until they reach the spring stop.
- Fit the rear-jaw slide onto the guide rail and screw the spindle into the internal trapezoidal thread.
- Again, clamp two suitable screws between the compression ring and the short cover plate to compress the spring until the groove for the circlip is completely exposed.
- Slide the circlip into the groove. When the compression is released, the circlip must seat fully in the groove and disappear into the compression ring.
- Screw the central adjustment screw back into the vice guide.
Videos on vice Restoration
We’ve linked a few videos here in which dedicated DIY enthusiasts show how to restore various vices. Perhaps your model is among them! You can find more restoration projects on our Field Reports page.
